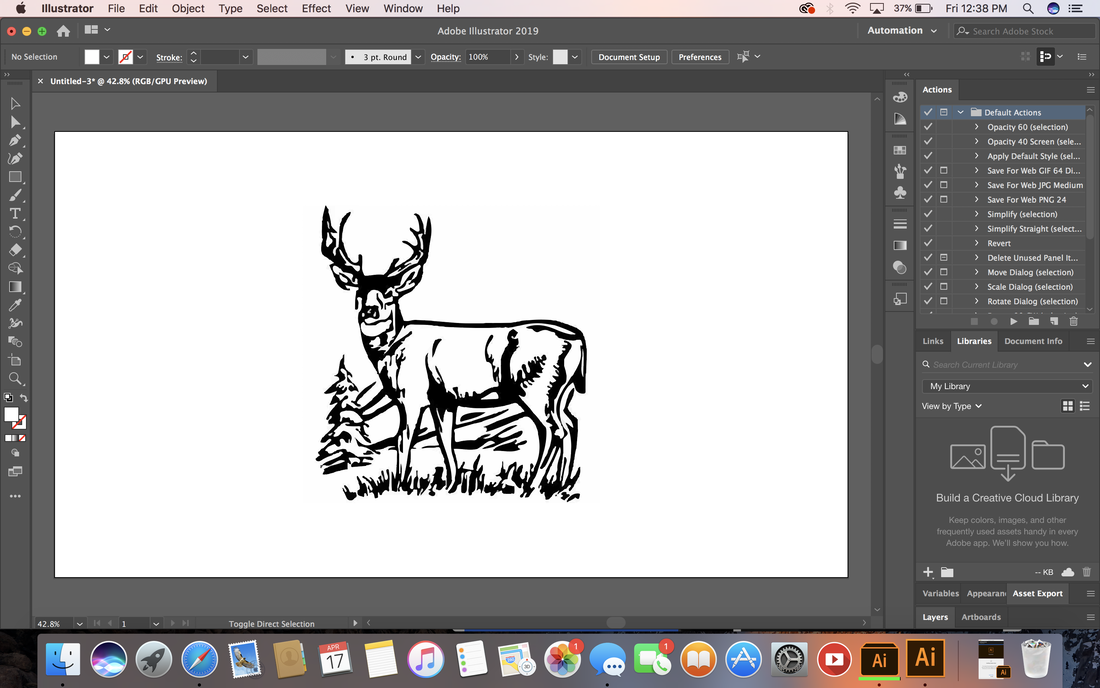
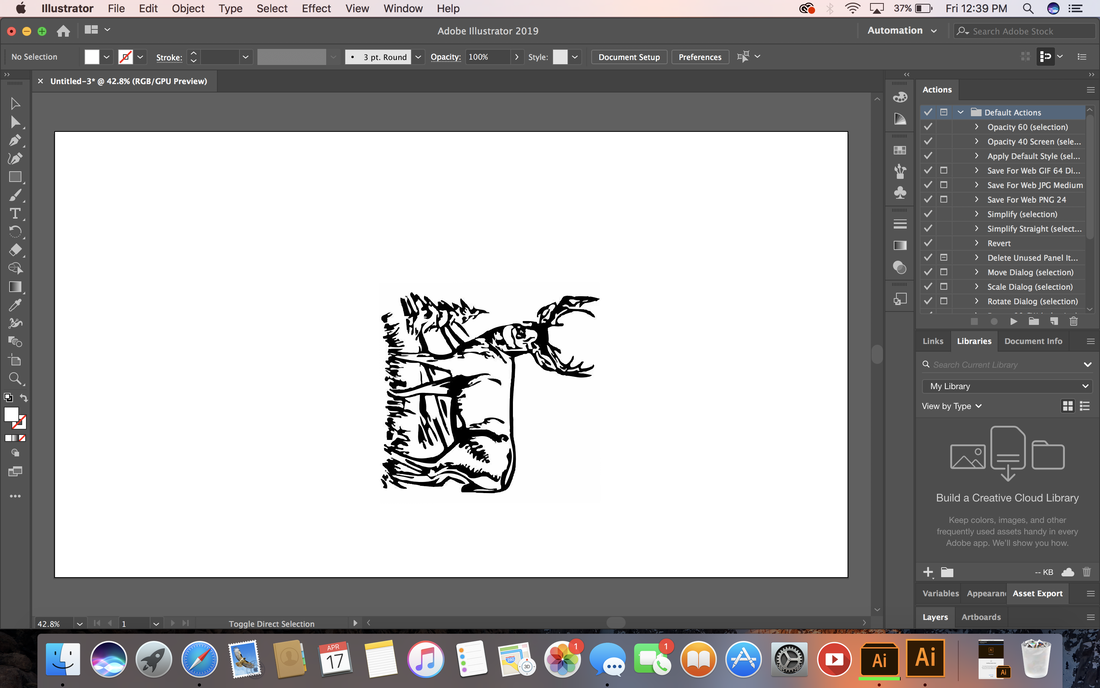
Laser Notebook
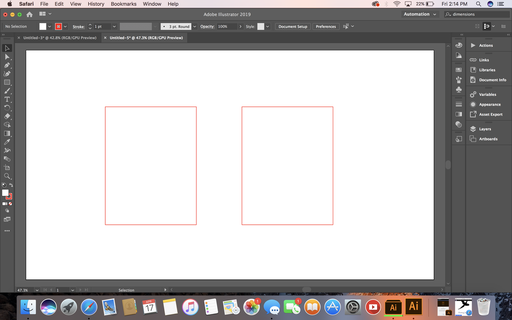
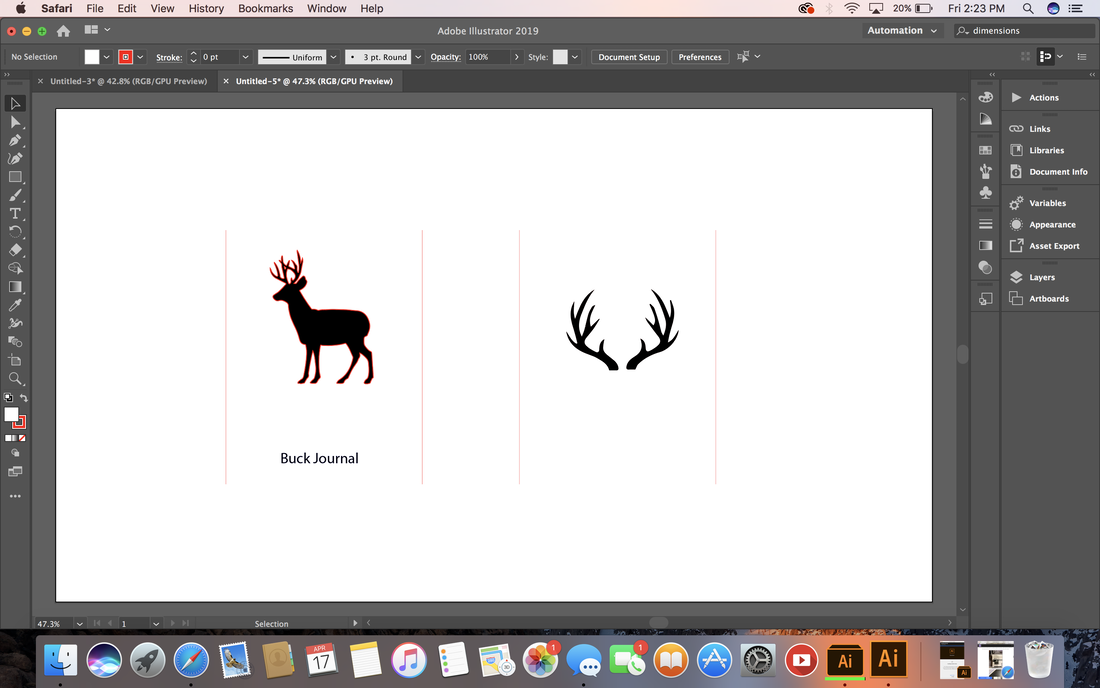
For this project we had to make a notebook cover and back on the laser. I chose to do a buck again like my water bottle. To start I made my cover and back boxes 4.25in by 5.5in. Then I added in my two pictures to cutout and typed in my text to be engraved. Once I had those things in I made the outline of the things I wanted cutout and made my text blue so it would be engraved. I made the stroke size .0001.
|
|
Laser Box
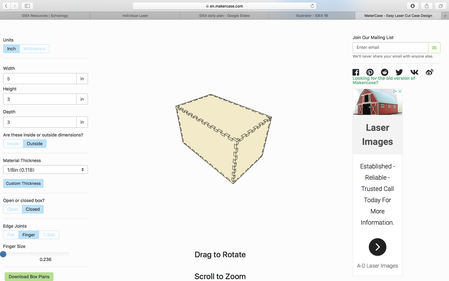
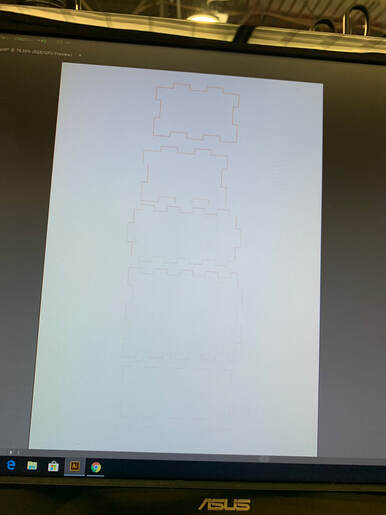
For this project we were told to make 2D parts into a 3D project. I chose to do the box because I felt it would be pretty easy and it was because I found a website that I out my dimensions into and it gave me the pieces I needed to put into illustrator. After I out the pieces into illustrator I made the outlines red so it would cut them out and then I typed my name onto one of the sides and made that blue so it would only engrave. This project was pretty simple and if we go back to school I would like to see my box come to reality and put it together.
|
|
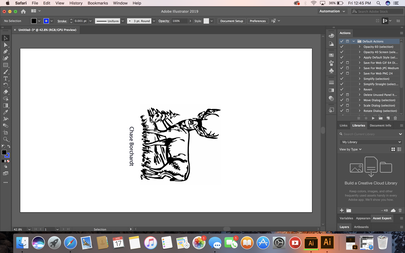
Laser Water Bottle
For this project we had to pick out an image to be laser engraved onto a water bottle. I chose a buck because my dad just got his mount back and I didn't really have any other ideas. First I made my image a vector image then I rotated it 270 degrees and added my name to the bottom. Finally so it would engrave I outlined it in blue.
|
|
Final Evaluation
Overall I liked this rotation because it gave me a chance to explore and make a few different projects. I think it would have been cool to print them but I think it would have made this rotation a lot more stressful. I was a little mad because I had to redo my notebook project for this rotation. I had already done it at school but I couldn't access my h drive from home so I had to do it over again.
