|
|
|

|
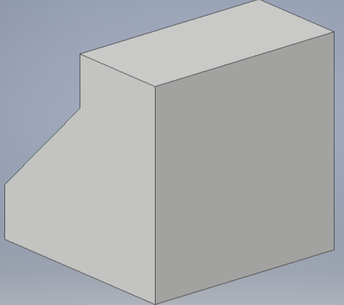
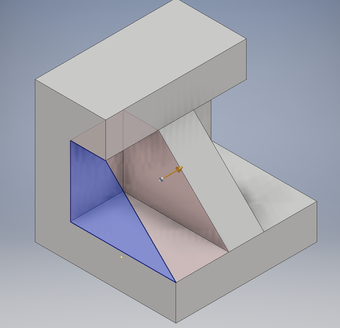
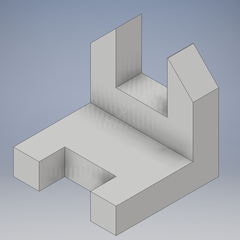
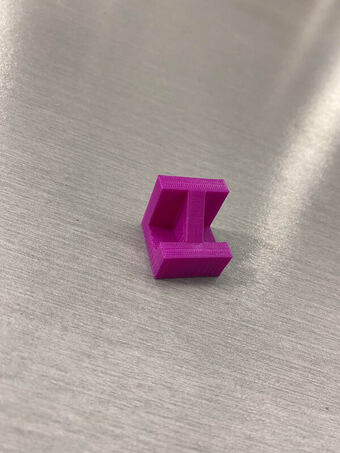
For this project we used Auto desk Inventor. Inventor is a software that allows you to make a 2-D image into a 3-D image, once it is 3-D you can upload it to print your object on the 3-D printer. It is quite simple to use you just make a base add dimensions and cut as needed. You can use Inventor for many different things you can use it if you are making a project or you can just use it for fun to make different cool objects. How to make the object above will be shown with a step by step procedure below.
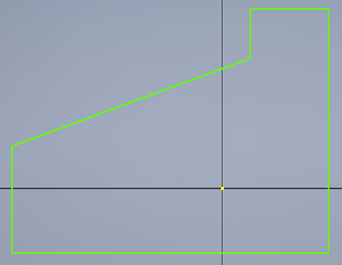
- First, I opened a new blank template and clicked start 2D sketch.
- Then, I made the base on the XY plane
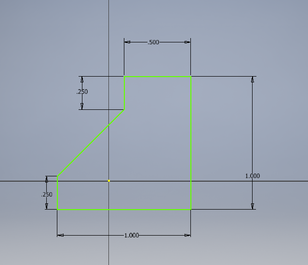
- Next, I added dimensions to all the sides of the widget
- After, I clicked extrude and extruded the base.
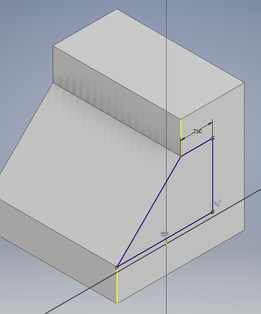
- Next, I used lines to create the small shape that I cut out
- After that, I extruded it inwards to cut out the shape
- Finally, I did the same thing on the other side to get my final product.
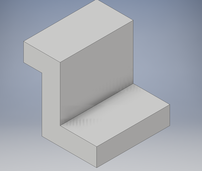
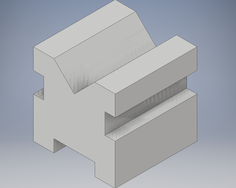
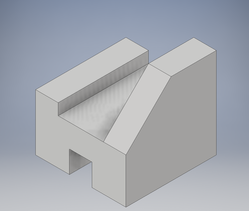
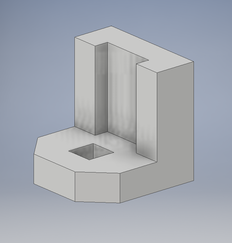
The other 5 widgets below were created with the same steps just using different bases and different extrusions.
|
|
|
|
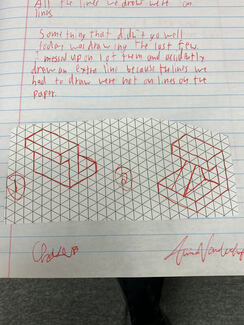
Notebook Sketches
|

|
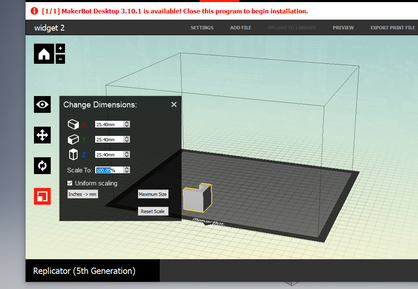
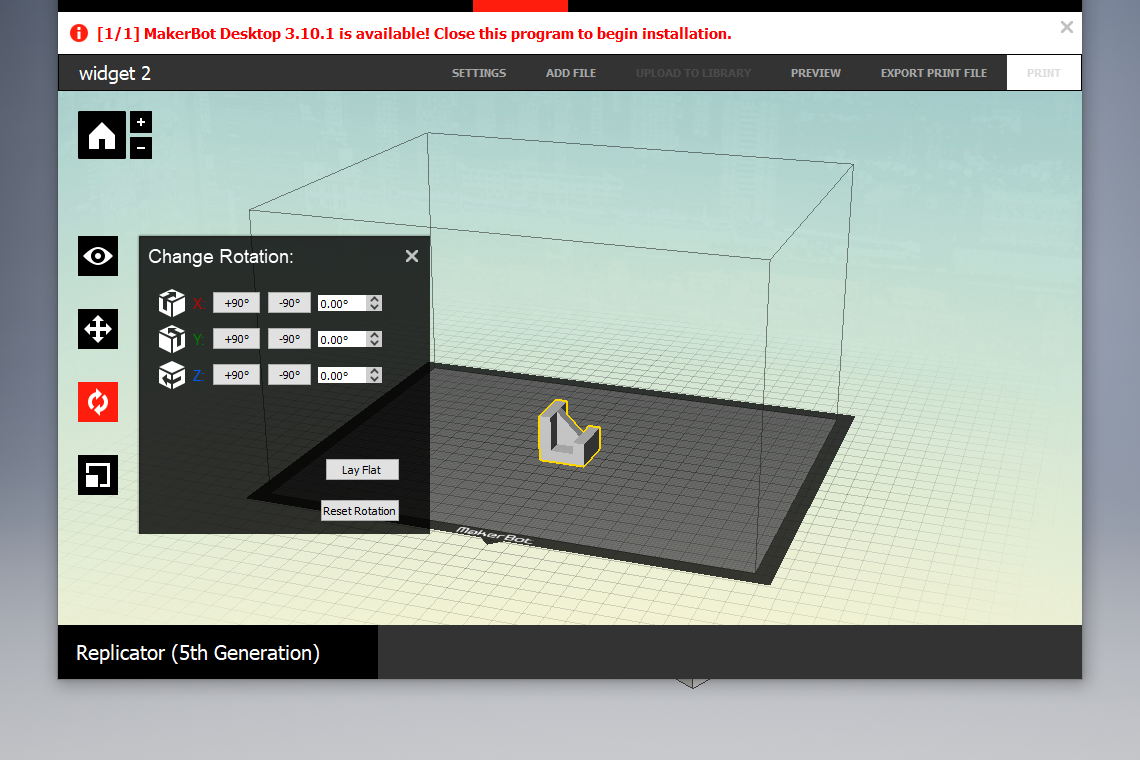
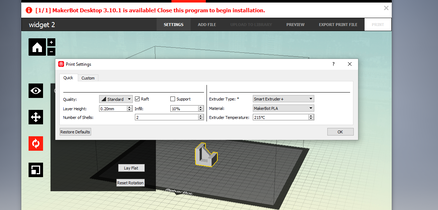
Makerbot
|
|
|
|
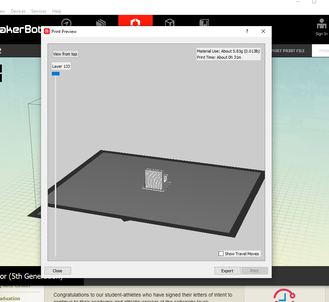
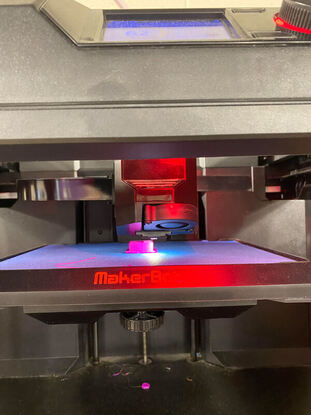
3D Printing Process
|
|
Overall this project was fun. I learned how to use Inventor, on inventor I learned how to dimension and extrude a 3D image. I also learned how to start with a 2D design on paper and transform it to 3D in my computer. I also learned how to add my 3D projects to makerbot and what to do to get them ready for the 3D printer. I thought it was cool how we started with a 2D image on our paper and brought it to a 3D product on the 3D printer.
